Introduction
When you’re learning JavaScript, small projects like calculators or to-do lists are a good start. But
sometimes they feel a bit boring, right? A music player is much more fun. It lets you click buttons,
change songs, shuffle playlists, and actually hear the results of your code.
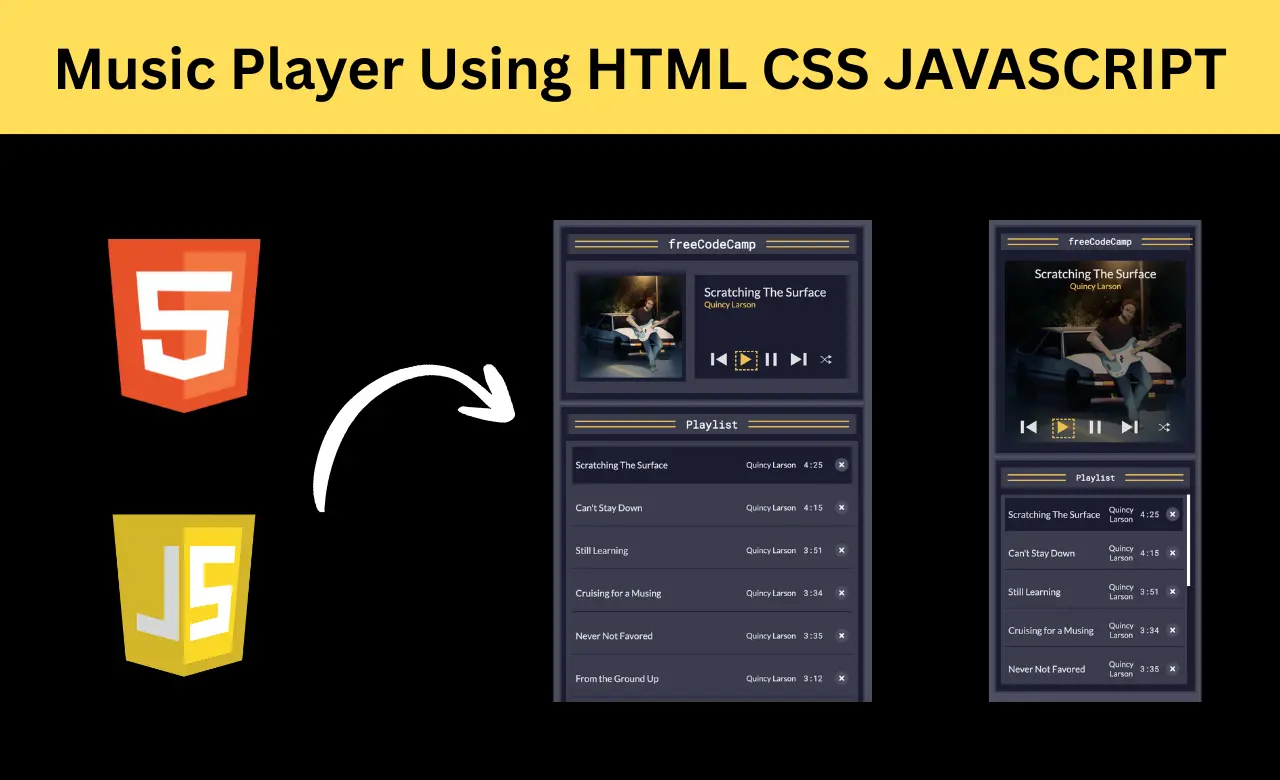
In this tutorial, we’ll build a Music Player App with HTML, CSS, and JavaScript. You’ll learn how to:
- Play and pause songs
- Move to the next or previous track
- Shuffle and restore playlists
- Delete songs from the list
- Reset playlist option
- Highlight the currently playing song
- Responsive design for mobile devices
- Automatic playback of the next song
By the end, you’ll have a project that’s not only useful for practice but also enjoyable to use while coding.
Project Structure
The project is divided into three files:
- index.html → structure of the player
- styles.css → design and layout
- script.js → all the interactive features
The HTML file creates the structure of the application, CSS handles the design, and JavaScript manages all player functionality.
HTML Structure
The HTML file creates the layout of the music player. The application contains two main sections: the
player area and the playlist area.
The player section displays album artwork, song details, and playback controls. Users can interact with
buttons such as Play, Pause, Previous, Next, and Shuffle.
One important part of the HTML
structure is the playlist container:
<ul id="playlist-songs">
Instead of manually creating playlist items inside the HTML file, JavaScript dynamically
generates them and inserts them into this container.
The player also contains placeholders for the currently playing song information:
<p id="player-song-title">
<p id="player-song-artist">
Whenever a song starts playing, JavaScript updates these elements automatically.
This approach
keeps the HTML clean and allows the application to display different songs without modifying the page
structure.
CSS Styling
CSS is used to create the visual appearance of the music player.
The project uses CSS variables to maintain consistent colors throughout the application.
 :root {
  --primary-color: #dfdfe2;
  --background-color: #1b1b32;
  --highlight-color: #f1be32;
}
Using variables makes the design easier to customize because colors can be changed from a single location.
The layout of the player is built using Flexbox.
.player-content {
  display: flex;
  align-items: center;
  justify-content: center;
}
Flexbox helps position the album artwork and song information side by side while keeping the layout
responsive.
The currently playing song is highlighted using the following selector:
[aria-current="true"] {
  background-color: var(--background-color);
}
This allows users to quickly identify which song is currently active.
The project also includes
media queries for smaller screens. When the screen width becomes smaller, the layout automatically
adjusts to provide a better mobile experience.
JavaScript Functionality
JavaScript is responsible for all interactive features within the application.
The project begins by storing all songs inside an array of objects.
const allSongs = [
  {
    id: 0,
    title: "Scratching The Surface",
    artist: "Quincy Larson",
    duration: "4:25"
  }
];
Each object contains information about a song, including its title, artist, duration, and audio source.
The application then creates an Audio object. const audio = new Audio();
This object controls music playback and allows JavaScript to play, pause, and switch songs.
Playing a Song
One of the most important functions in the project is the playSong() function.
const playSong = (id) => {
  const song = userData?.songs.find((song) => song.id === id);
  audio.src = song.src;
  audio.play();
};
The find() method searches for the selected song using its unique ID. Once the song is found, the audio
source is updated and playback begins.
Rendering the Playlist
The playlist is generated dynamically using the map() method.
const renderSongs = (array) => {
  const songsHTML = array.map(song => `...`).join("");
  playlistSongs.innerHTML = songsHTML;
};
Instead of writing every playlist item manually, JavaScript loops through the song array and creates
the required HTML automatically.
This makes the application easier to scale because new songs can be added simply by updating the song array.
Pause Functionality
The pause feature allows users to stop playback without losing their current position.
const
pauseSong = () => {
audio.pause();
};
When the user clicks the pause button, the current playback is temporarily stopped.
Deleting Songs
The application allows users to remove songs from the playlist.
userData.songs = userData.songs.filter((song) => song.id !== id);
The filter() method creates a new array that excludes the selected song. This updates the playlist instantly without refreshing the page.
Shuffle Feature
The shuffle functionality changes the order of songs randomly.
userData?.songs.sort(() =>
Math.random() - 0.5);
Every time the shuffle button is clicked, the playlist is rearranged into a different order.
Automatic Next Song, The player automatically starts the next track when the current song finishes.
audio.addEventListener("ended", () => {
playNextSong();
});
This creates a smoother listening experience because users do not need to manually start each song.
What You Will Learn From This Project
By building this Music Player App, you will gain practical experience with:
- HTML page structure
- CSS Flexbox layouts
- Responsive web design
- JavaScript arrays and objects
- DOM manipulation
- Event listeners
- Audio API integration
- Dynamic content rendering
- Array methods such as find(), map(), filter(), and sort()
Conclusion
The Music Player App is an excellent project for learning how JavaScript interacts with HTML and CSS to
create a dynamic user experience. It demonstrates important concepts such as playlist management, audio
control, DOM updates, and event handling while keeping the project simple enough for beginners to
understand.
This project is a great way to understand how HTML, CSS, and JavaScript work
together in a real application. Once you are comfortable with these concepts, you can expand the project
by adding features such as volume controls, progress bars, playlists from external APIs, or even user
authentication.
FAQs
1. Can I build a music player using only HTML, CSS, and JavaScript?
Answer: Yes you can make a good working music player with just html css or javascript in which playing music, pausing it and doing next previous etc. is quite easy to do.
2. Which JavaScript concepts are used in this music player project?
Answer: I have used some essential JavaScript concepts for this music player like event listeners, DOM manipulation, arrays and objects, apart from these we have also used some others which are used in some web projects.
3. How does the play and pause functionality work?
Answer: To play and control music in the music player, JavaScript uses the Audio object. When the user clicks on the play button, the music is loaded using JavaScript and the rest of the music is positioned relative to the current music.
4. Can I add more songs to this music player?
Answer: Yes you can do this you just have to list a new array in javascript whose object you have to create and in that you have to upload the song details, song file etc. then you can rank the new song through javascript.
5. Is this project suitable for JavaScript beginners?
Answer: Yes, this project is perfect for beginners because in this we have used all the JavaScript concepts like array object, DOM manipulation and event handling, by understanding the code of which you can learn about JavaScript.